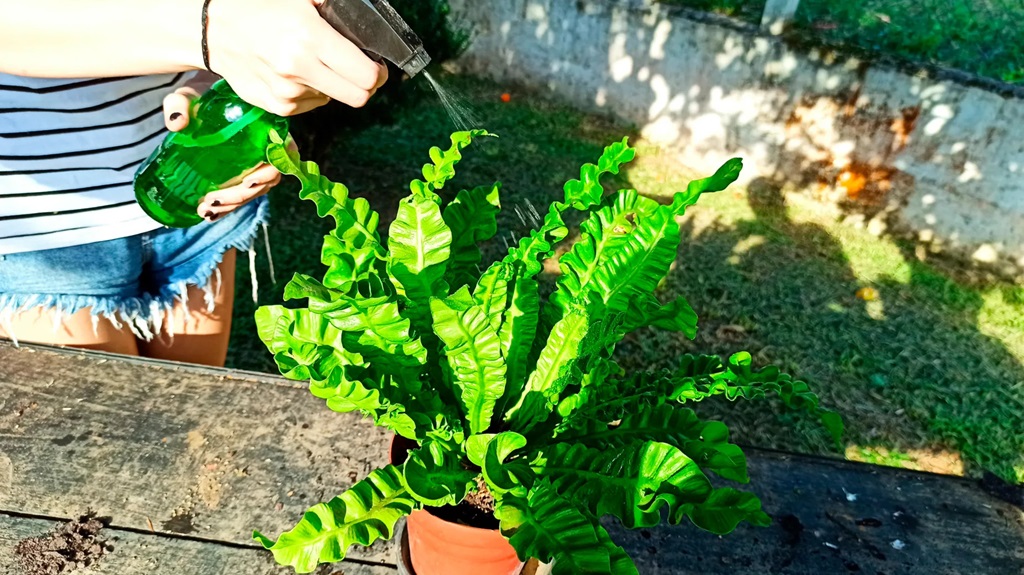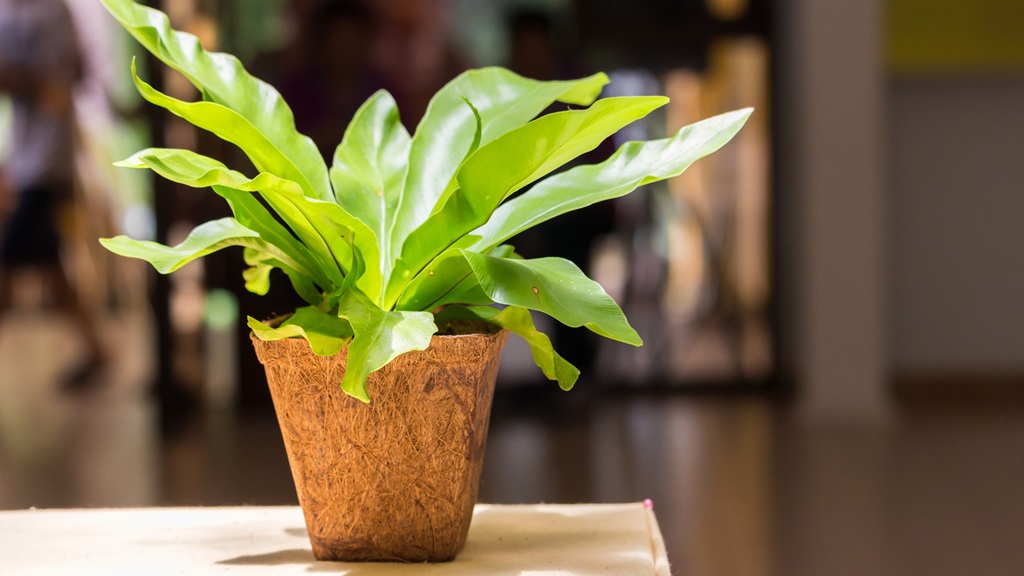
The crispy wave fern, also known as the ripple fern, is a popular houseplant known for its ruffled, wavy fronds that resemble ocean waves. With the proper care, these tropical ferns can thrive indoors, adding a touch of nature and effortless style to any space. This beginner’s guide will teach you everything you need to know about growing healthy and vibrant crispy wave fern care.
Crispy Wave Fern Care: Light Requirements
Crispy wave ferns prefer bright, indirect light. They enjoy some morning or late afternoon sun but should be protected from prolonged direct sunlight, which can scorch their delicate fronds. An east, west, or lightly shaded south window is ideal. If you don’t have a bright window, consider supplementing with a grow light. Make sure to rotate your fern every few days so all sides get even light exposure.
The fronds will turn brown and crispy if the plant receives too much light. On the other hand, insufficient light will cause the new growth to be small and stunted. Observe your plant to determine if it needs more or less light.
Watering
Crispy wave ferns like to be kept evenly moist but not soggy—only water when the top inch or two of soil is dry. I recommend using your finger to test the soil rather than following a set watering schedule. Ferns prefer humid conditions, so mist the leaves every few days or use a pebble tray to boost humidity around your plant. Be sure the pot has drainage holes, and empty any water that collects in the saucer so the roots don’t sit in water.
Underwatering will cause the fronds to turn brown and wither. Overwatering can lead to root rot. If you stick to the simple “water when dry” rule, you should be able to find the right balance for your plant and climate.
Soil
Use a well-draining potting mix for ferns with ingredients like peat moss, perlite, vermiculite, or sand. You can make your mix by combining equal parts potting soil, perlite peat moss, or coco coir. Soilless mixtures provide the light, airy environment that fern roots need. Avoid dense potting soils that hold too much moisture.
Fertilizer
Feed your crispy wave fern monthly in spring and summer with a balanced liquid fertilizer diluted to half strength. Ferns have delicate root systems that are easily damaged by too much fertilizer. I suggest using an organic fertilizer made for foliage plants during the growing months and taking a break in fall and winter when growth naturally slows down.
Temperature & Humidity

Crispy wave ferns prefer warm temperatures between 60-80°F and moderately humid conditions around 40-60% humidity. Keep them away from hot and dry forced air vents, fireplaces, or drafty windows. Use a humidifier nearby if the air is arid.
Pot Size
These ferns have shallow root systems and prefer being somewhat pot-bound. Select a pot that is about 2 inches wider than the nursery pot. Use containers with drainage holes and ensure any decorative outer planters can also drain. Crispy wave ferns rarely need repotting, but if roots are busting out of the drainage holes, size up 1-2 inches.
Troubleshooting Common Problems
Here are some quick tips for fixing the most common crispy wave fern issues:
- Brown, crispy fronds – Usually caused by too much light. Move to a shadier spot.
- Small new growth – Not enough light. Provide bright indirect light.
- Yellowing fronds – Overwatering or poor drainage. Allow soil to dry out before watering.
- Drooping fronds – Underwatering. Water thoroughly until it drains from the holes.
- Brown leaf tips – Low humidity. Mist frequently or use a pebble tray.
- Root rot – Soil staying too wet. Repot in fresh mix and avoid overwatering.
Propagating Your Fern
Crispy wave ferns can be propagated by division when they become overcrowded. Gently tease the root ball apart using your hands or a knife, ensuring each division has some roots and fronds attached. Replant the divisions in small pots using a well-draining fern potting mix. Keep them humid and shaded while the new roots are established.
You can also take spore print cuttings. Choose a healthy frond and remove the leaflets, leaving just the central stem. Place it upside down on paper and leave overnight. Tap the spores into your palm the next day and sprinkle lightly over the soil surface. Enclose in a plastic bag until the tiny ferns sprout.
Display Ideas
Here are some tips for styling your crispy wave fern:
- Let it trail from a hanging basket or high shelf where the ruffled fronds can cascade.
- Mix with other textures like orchids, nerve plants, and bromeliads in a plant collection.
- Place in indirect light near a bright window as an elegant green accent.
- Put on a pedestal or plant stand where the wavy shape can stand out.
- Group 3 smaller ferns together for a lush, complete look in a large planter.
- Add mossy sticks, stones, or miniatures for an enchanted woodland vignette.
With the proper care, crispy wave ferns make easy and rewarding houseplants. Follow this beginner’s guide, and soon, you’ll have beautiful, thriving ferns that lend an air of tropical charm wherever you place them in your home.
Conclusion

With crispy wave fern care flowing and ruffled foliage that resembles ocean waves, the brittle wave fern adds graceful texture and natural style to indoor spaces. While they may look delicate, these tropical ferns are relatively easy to grow when their preferences are met. Provide bright indirect light, humid air, moderately warm temperatures, and an airy, peat-based potting mix.
Water thoroughly when the soil dries out without oversaturating. Crispy wave ferns are susceptible to dry air and direct sun, but keeping them in the right conditions results in healthy, vibrant plants anyone can enjoy. Try this wavy beauty and let its cascading fronds bring a sense of tropical enchantment to your home.
Frequently Asked Questions
1. Why are my crispy wave fern fronds turning brown and shriveled?
The most common cause of brown, shriveled fronds is too much light. Crispy wave ferns prefer bright indirect sunlight, but direct, prolonged sun will scorch the leaves. Try moving your fern to a shadier spot with gentle morning or late afternoon sun at most. The browned leaves won’t recover, but new growth should come greener if light conditions improve.
2. What’s the best way to increase humidity for my crispy wave fern?
Ferns thrive in humid conditions, with relative humidity around 40-60%. If the air is dry in your home, there are a few easy ways to increase moisture around your plant. Grouping plants helps raise local humidity. You can also mist the fronds daily with a spray bottle, use a pebble tray filled with water, or run a humidifier nearby.
3. How often should I fertilize my crispy wave fern?
Ferns are quickly burned by too much fertilizer. Feed them lightly monthly from spring to late summer with a balanced liquid fertilizer diluted to half strength. Take a break in fall and winter since ferns don’t actively grow in cold weather. In warmer climates, you can resume monthly fertilizing. If fronds start to turn yellow or brown at the tips, discontinue fertilizer as it may accumulate to toxic levels in the soil.
4. Why are my crispy wave fern’s fronds small and stunted?
Insufficient light causes ferns to produce smaller, more compact fronds rather than large, fluffy ruffled ones. If your fern puts out low, stunted growth, it needs brighter indirect light to reach its full potential. Try an east or west window where it will get gentle morning or afternoon sun. You can also supplement with a grow light if natural light is limited. As light is improved, the new fronds should grow fuller and lusher.
5. When should I repot my crispy wave fern?
Crispy wave ferns have shallow roots and prefer being somewhat pot-bound. They rarely need repotting more than once a year. Repot in spring to give the roots time to establish before active growth starts. Move up just 1-2 inches to a slightly larger pot. The main signs it’s time are roots protruding from the drainage holes or excessive dryness between waterings, indicating the roots have filled the pot. Use a well-draining fern potting mix and containers with drainage holes when repotting.
